
Your digital journey starts here
We transform businesses through innovative technology solutions. From custom software development to digital transformation strategies, we're your trusted partner in navigating the digital landscape.
OUR SERVICES
Comprehensive technology solutions designed to accelerate your business growth and digital transformation
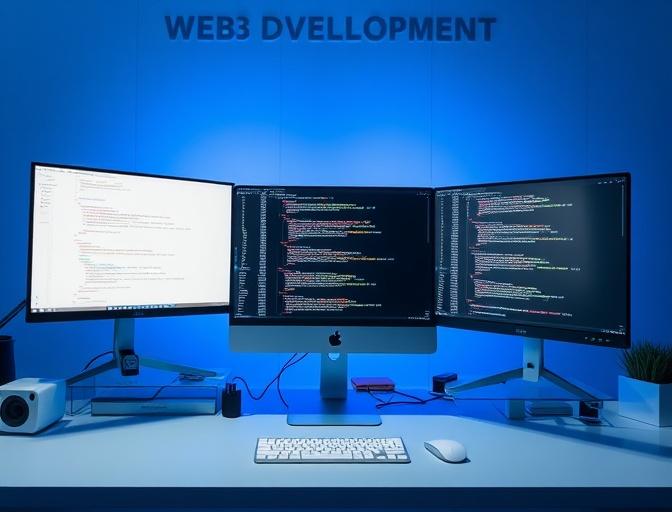
WEB DEVELOPMENT
Custom web development services for responsive, SEO-friendly websites with secure, scalable, and user-centric designs.
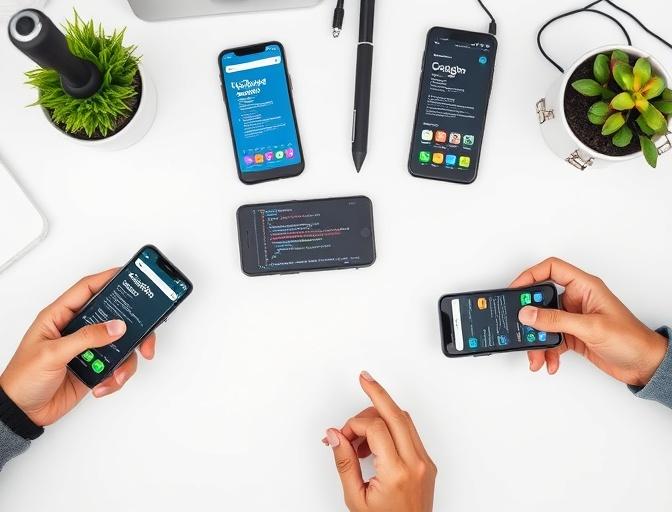
MOBILE DEVELOPMENT
Custom mobile development services for intuitive, secure, and scalable apps on iOS and Android platforms.

WEB HOSTING
Reliable web hosting services with high uptime, robust security, and scalable performance solutions.
MAINTENANCE
Comprehensive web maintenance services for updates, security, backups, and performance optimization.
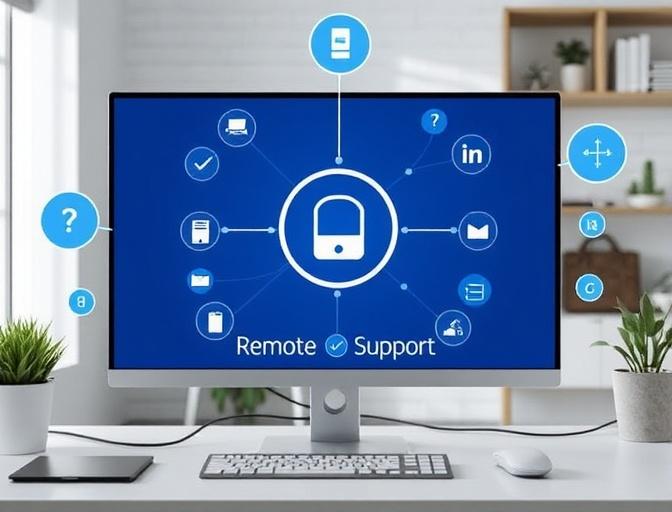
REMOTE SUPPORT
24/7 remote technical support services to resolve issues quickly and keep your systems running smoothly.
CONSULTING
Expert technology consulting to guide your digital transformation and optimize your IT infrastructure.
WHY CHOOSE US
Proven Expertise
Over 10 years of experience delivering cutting-edge technology solutions across diverse industries.
Dedicated Team
A team of passionate professionals committed to delivering exceptional results and exceeding expectations.
Innovation-Driven
We stay ahead of technology trends to provide innovative solutions that drive business growth.
24/7 Support
Round-the-clock support to ensure your systems run smoothly and your business never stops.

WHAT OUR CLIENTS SAY
Don't just take our word for it. Here's what our satisfied clients have to say about working with FamIT Solutions.
"FamIT Solutions transformed our online presence completely. Their web development team delivered exactly what we needed - a modern, responsive website that increased our customer engagement by 300%."
"Outstanding mobile app development! The team at FamIT created a user-friendly app that our customers love. Their attention to detail and ongoing support has been exceptional."
"Their remote support service is a game-changer. We can focus on our business while FamIT handles all our technical needs. Professional, reliable, and always available when we need them."
LET'S START
Ready to transform your business with cutting-edge technology? Get in touch with our experts today and let's discuss your project requirements.